Welcome to the configuration guide for integrating Fortinet with Hector. At the end of this guide, you will be able to automatically synchronize your Fortinet firewalls, switches and access points into Hector as assets. The integration connects to your FortiManager appliance through its JSON-RPC API.
1. Login to your Hector account
You must be an administrator to activate the Fortinet integration.
2. Integrations
Navigate to Settings, in the Integrations section you can find the Fortinet integration in the Inventory tab.

Once in the integration settings, the Authentication tab has three fields to complete :
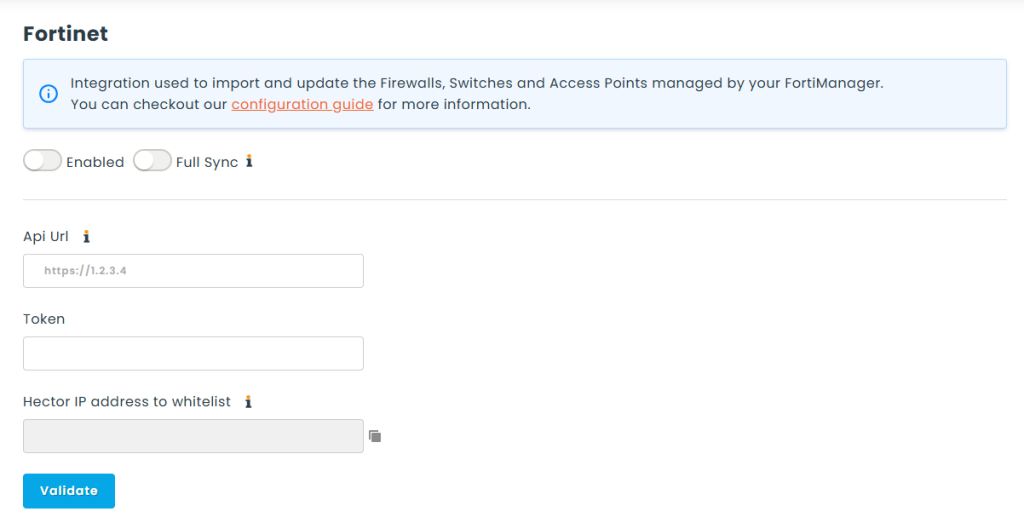
- Url / IP address : the address of your FortiManager appliance, for example https://1.2.3.4.
- Token : a REST API token generated on your FortiGate (see Generate a Fortinet API token below).
- Hector IP address to whitelist : this read-only field shows the IP address Hector connects from. You must add this IP to the FortiGate Trusted Hosts of the API administrator, otherwise the connection will be refused. Use the copy button next to the field.
Generate a Fortinet API token
You can generate the token from the FortiGate, using either the graphical interface (GUI) or the command line (CLI).
Method A : via the FortiGate GUI
- Log in to your FortiGate firewall as a super_admin.
- Navigate to System > Administrators.
- Click Create New and select REST API Admin.
- Configure the API user :
Username : give it a descriptive name (e.g. api_hector).
Administrator Profile : select a profile that has at least read permissions on the devices you want to import.
Trusted Hosts (required) : enter the Hector IP address shown in the integration settings. - Click OK.
- Copy the token displayed in the pop-up window.
Important : this token is only displayed once. Copy it and store it securely. If you lose it, you will have to generate a new one, which invalidates the old token. If you revoke the token used in Hector, you must update it to a new one for the integration to keep working.
Method B : via the FortiGate CLI
config system api-user
    edit "api_hector"
        set accprofile "super_admin"   <-- or your custom restricted profile
        set vdom "root"
        config trusted-host
            edit 1
            set ip 192.168.1.50 255.255.255.255   <-- replace with the Hector IP from the integration settings
            next
        end
    next
end
3. Options
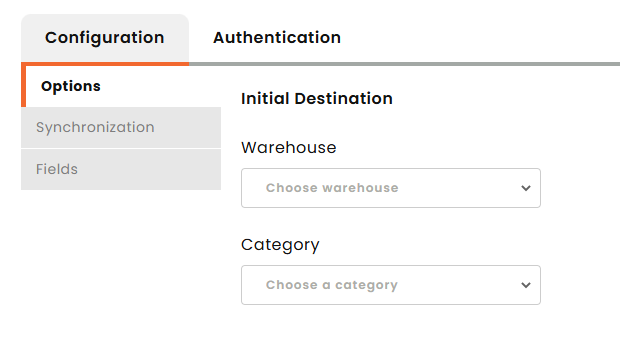
Once you have entered the Url and the Token, click on Validate. If everything is good, you will be redirected to another tab where you will be able to select the options you want.
Initial destination
This part corresponds to the default Stockroom and Category your assets will be directed to.
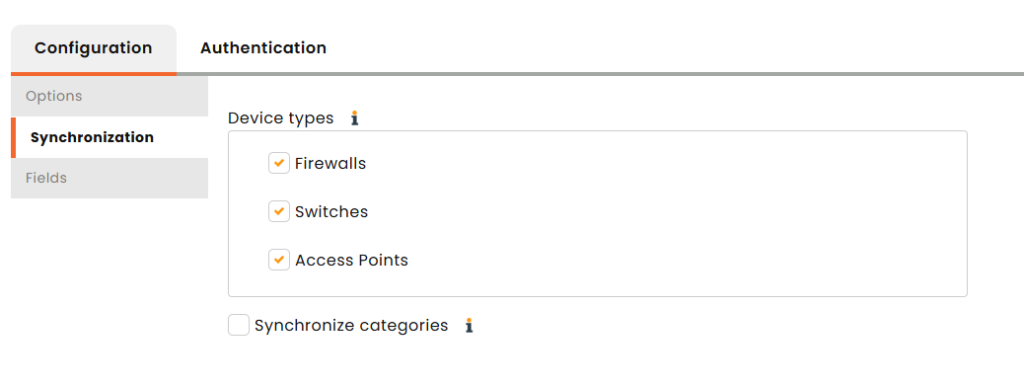
Synchronization
Here you can change the way the assets will be synchronized in Hector :
- Device types : choose which Fortinet device types you want to import — Firewalls, Switches and Access Points.
- Synchronize categories : new categories will be created following the device type (Firewall, Switch or Access Point). When unchecked, every device is placed in the default category selected above.
Fields
In the attribute selector you can choose the additional fields imported in Hector as attributes. Note that the attributes will be automatically created if it is your first time using this attribute in an integration (all integrations use the same attributes), and its name will be set following your instance language, not your user language preference.
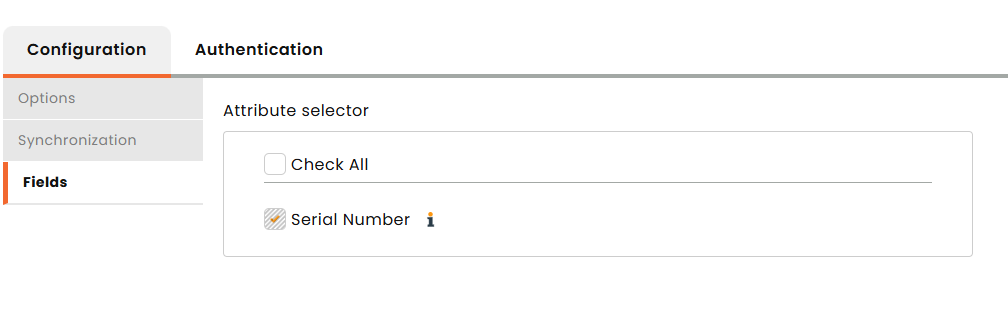
Serial Number is our synchronization key, so it cannot be unchecked.
How the Integration Works
What to expect when syncing
Once synchronization is enabled, Hector will start syncing with FortiManager based on your integration settings once per day in the evening.
Field Mapping
When a Fortinet device is created in Hector, the following fields are populated:
| Fortinet Field | Hector Field | Notes |
|---|---|---|
| Device type | Category | Matches a device type (Firewall, Switch, Access Point) with a category only if the option Synchronize categories is checked. Else, the asset is put in the default category. |
| Model | Part | |
| Name | Title | |
| Serial number | — | Used as the synchronization key, so it is always imported. |
Other fields will be populated following the attributes you chose in the Fields tab.
That completes the Fortinet integration guide. If you have any questions, or would like support integrating in your environment, please reach out to our sales team for more information.