
Room Reservation in Hector lets you turn any meeting room, office, or shared space into a bookable resource — with a public booking calendar, automatic availability, and approval workflows if you need them. This guide walks you through setting it up from scratch.
Before you start
- The Loaner module must be enabled on your Hector plan (Settings > Modules > Reservations).
- Room Reservation is built on Hector’s Place entity — everything below applies to Places, which your instance may already display as “Room.”
- You’ll need admin access to Settings, Resources, and Inventory sections.
Step 1 — Create a stockroom for room reservations
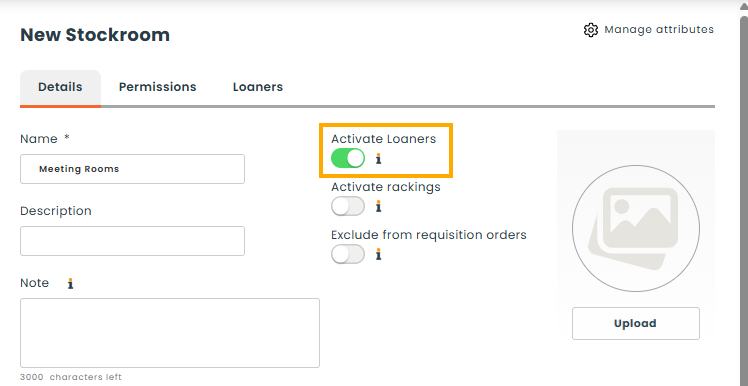
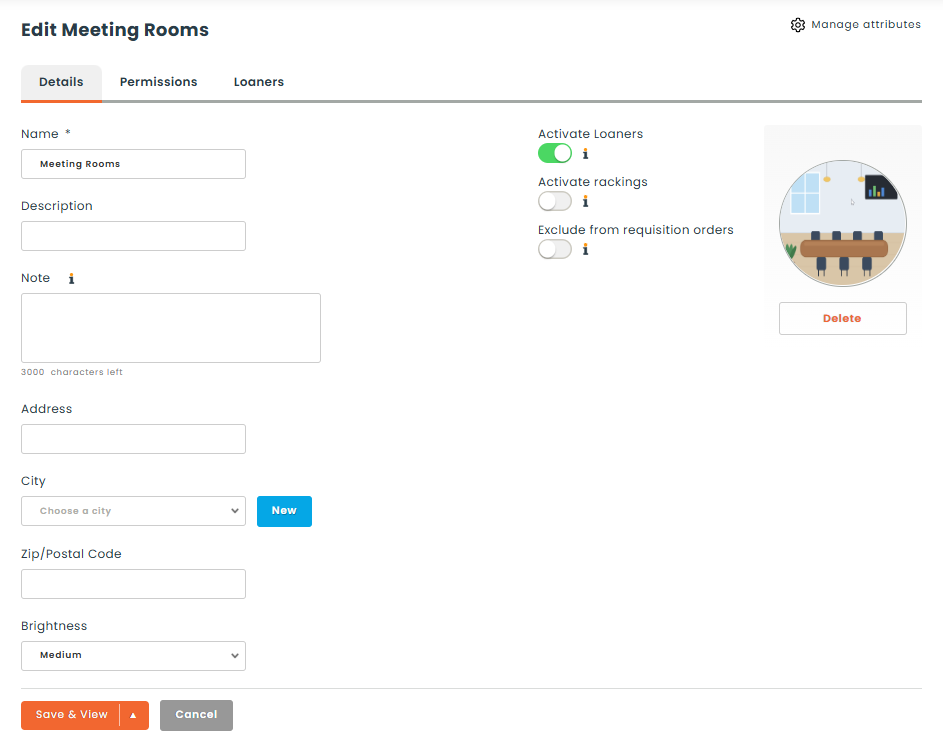
Go to Inventory > Stockroom > New and create a stockroom dedicated to room reservations (for example, “Meeting Rooms”). On the stockroom’s page, enable the Activate Loaners option so this stockroom can host reservable items.
Step 2 — Set who can make reservations
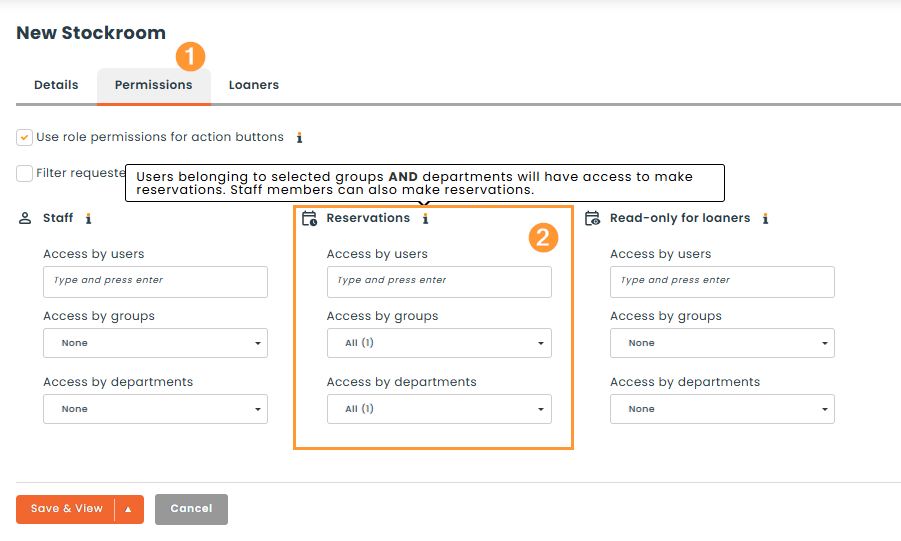
Before opening the room to bookings, decide who is allowed to reserve it. Adjust the reservation permissions on the stockroom (or on the role/user group level, under Settings > Roles) to grant the Make reservations right to the appropriate users or groups. If reservations should be reviewed before being confirmed, also assign Approval rights to the users responsible for approving requests.
Step 3 — Enable automatic status changes
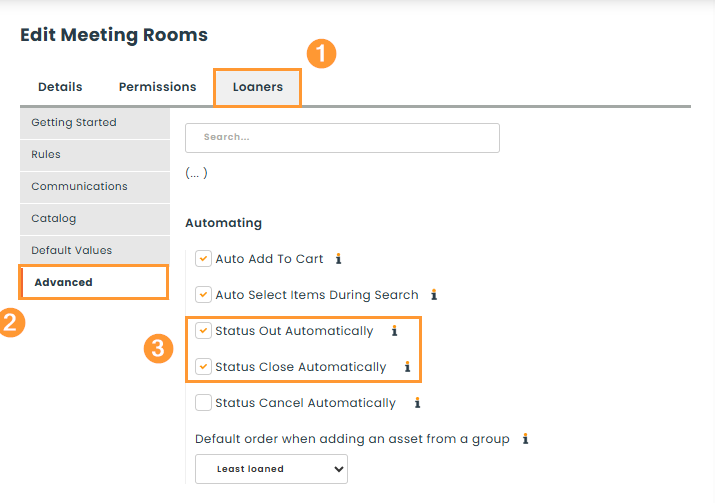
On the same stockroom, turn on the Automatic “Out” status and Automatic “Closed” status options. These let Hector move a room in and out of service on its own, without staff having to manually update its status when a reservation starts or ends.
Step 4 — Create the room
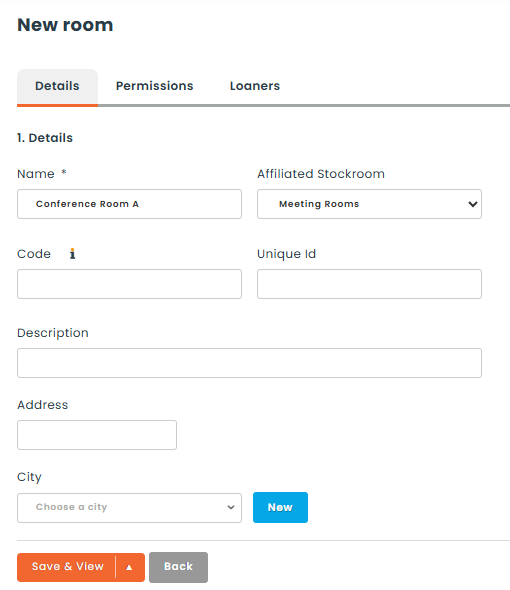
Go to Resources > Room (this may appear as “Place” depending on your instance’s terminology settings) and create a new record for the room you want to make reservable — for example, “Conference Room A.”
Step 5 — Link the room to the stockroom
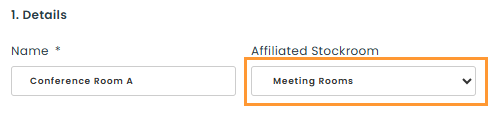
On the room’s page, select the stockroom you created in Step 1 as its associated stockroom. This is what connects the room to the reservation settings and permissions you just configured.
Step 6 — Configure the room
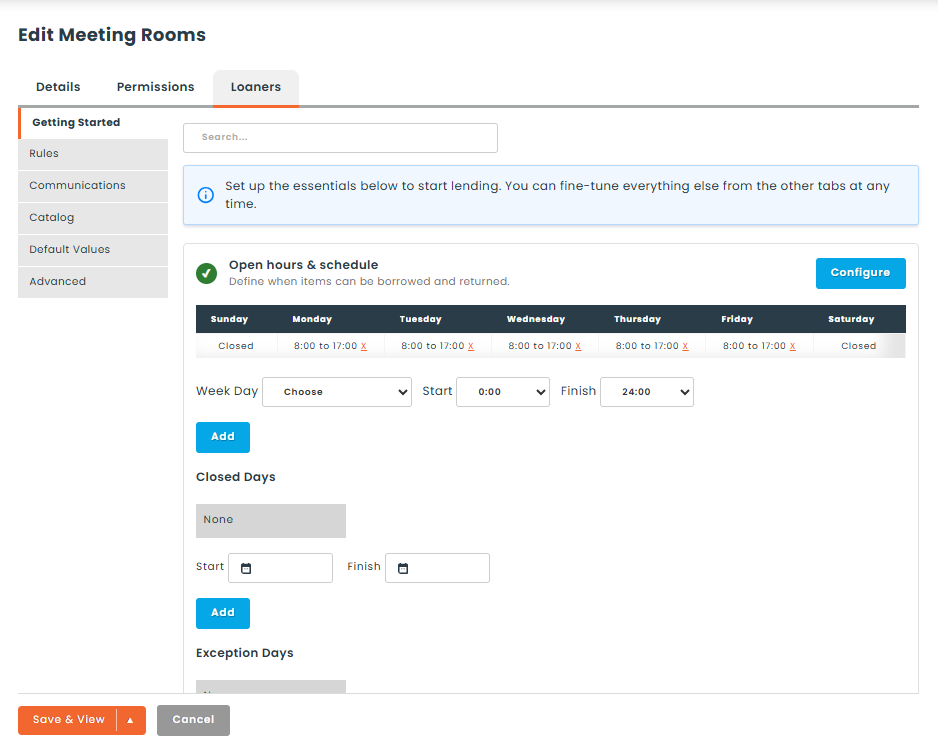
Finish setting up the room as needed: add a photo, fill in any relevant attributes (capacity, floor, equipment, etc.), and set its reservation type. If you want the room to only be bookable in predefined time blocks (for example, half-day or hourly slots) rather than any custom start/end time, choose the Fixed time slots option — see our companion article, How to set fixed time slots when reserving rooms and places, for details.
Step 7 — Open the reservation calendar
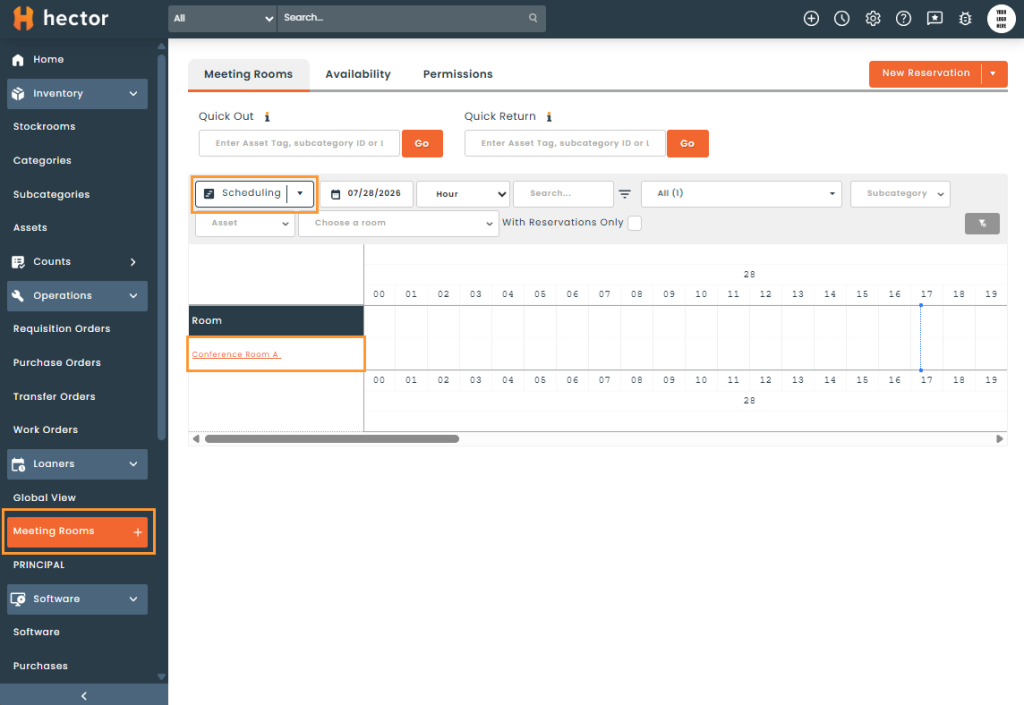
Go to Inventory > Loaner > Timeline (or Calendar) and filter by the stockroom you created. You’ll see your room listed as a reservable resource, ready to be booked.
Step 8 — Test it with a public reservation
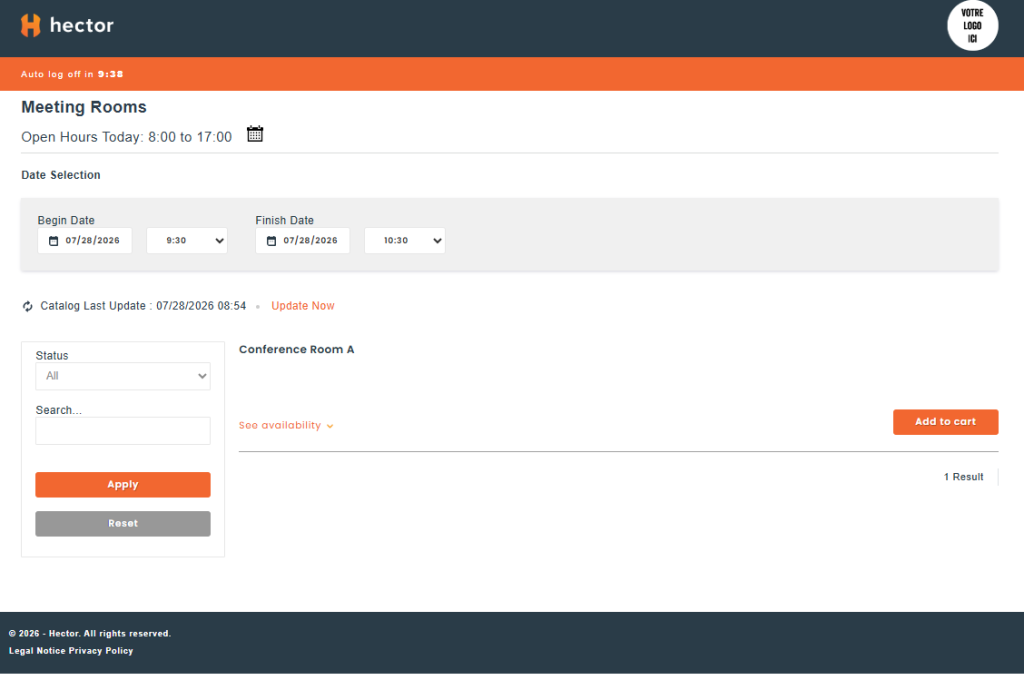
On the stockroom’s page, activate Public Reservations and note the reservation URL that Hector generates. Open that link and try booking the room — the process is exactly the same as reserving an asset. As soon as a room is booked for a given time period, it becomes unavailable for that period.
What happens automatically
Once a reservation is confirmed, the room automatically switches to Out status at the start date of the booking, and becomes available again at the end date — freeing it up for the next person to reserve, with no manual steps required.
That’s all there is to it! Your room is now set up for reservations, and your team (or the public, if you enabled public booking) can start scheduling it right away.